The unit circle is a handy tool that can help students learn the trigonometric values, sine, cosine, and tangent, of certain angles (30°, 45°, and their multiples) that the math “Powers-That-Be” have determined to be important. Unfortunately, for a lot of students, the unit circle can feel like tedious rote memorization with unfamiliar numbers such as 3 and learning it can be a challenge. This was my experience in early high school where I stubbornly refused to learn the unit circle despite its increasing prevalence in my precalculus class. Until one day, a fellow student showed me a trick that allowed me to recreate the unit circle on my own by only having to remember two numbers instead of all 32 coordinates on the circle.
Unit Circle Background
The unit circle has a radius of 1 and is centered on the origin (0,0).
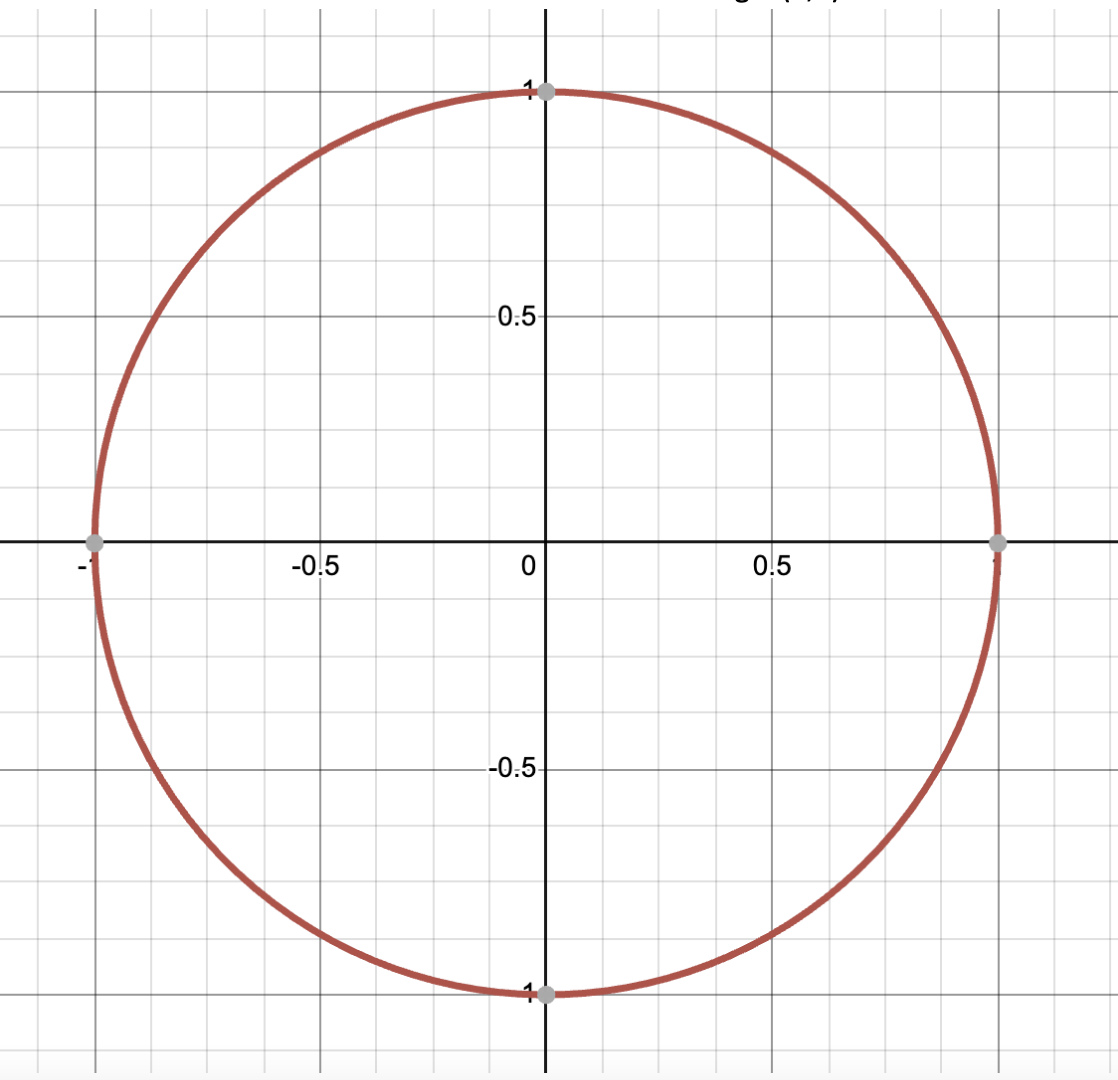
It is useful in trigonometry because when drawing lines from the origin at certain angles from the x axis, the coordinates of their intersection points with the circle give us the sine and cosine values of that angle. Any time I draw a line from the origin to the circle, I can create a right triangle by drawing a vertical line from the intersection point with the circle to the x axis and a horizontal line along the x axis. Here is an example drawn with the solid green line y = x, which creates a 45° angle with the positive x axis:
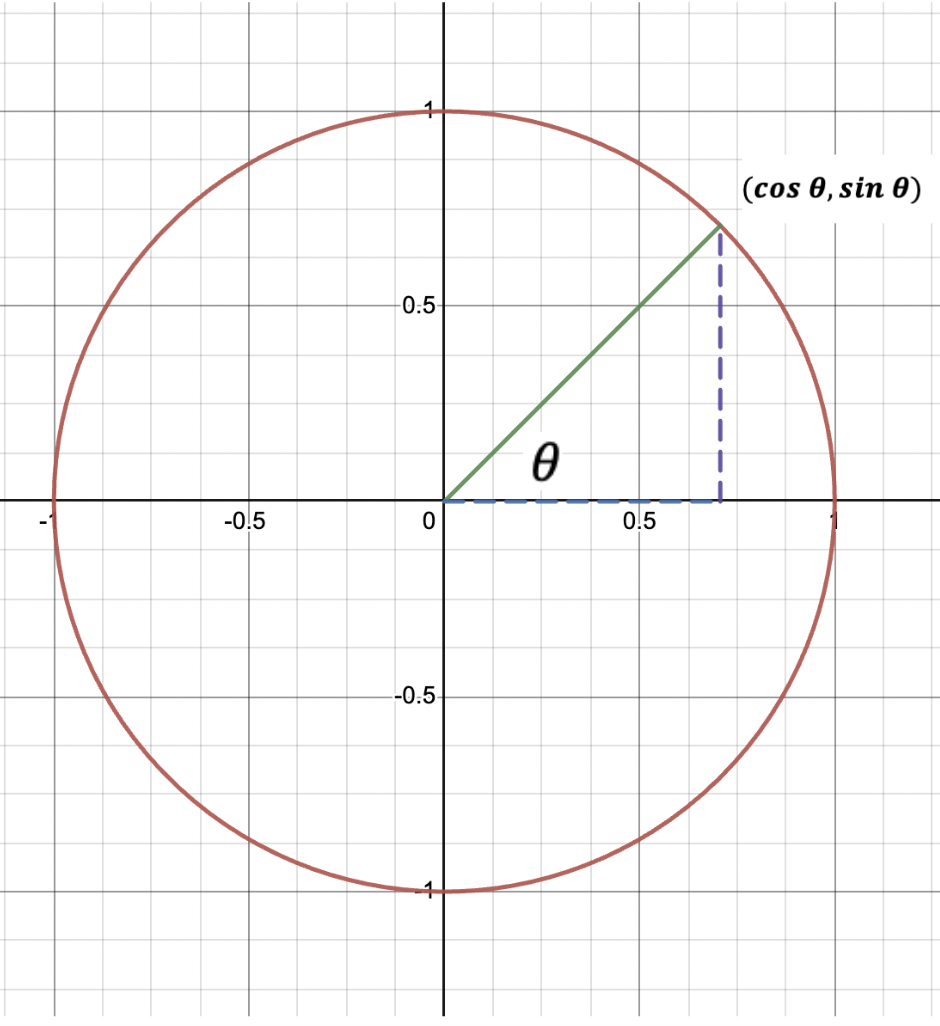
The unit circle allows us to find the trigonometric values of that 45° angle made between the x axis and the hypotenuse (the lower left angle of the triangle). Notice that the hypotenuse of the right triangle is the radius of the circle, which is equal to 1. This means that:

If I know the height of the triangle, then I know the sine of that angle(θ)! Since the base of the triangle is along the x axis, the height is simply the y coordinate where the hypotenuse intersects the circle, and the same is true for cosine and the x coordinate of the intersection. By memorizing the x and y coordinates where the major angles intersect the circle, we can know the sine and cosine values of the major angles. This is the part that seemed like scary memorization to me, but here is the trick to do it all with just two numbers.
Unit Circle Construction
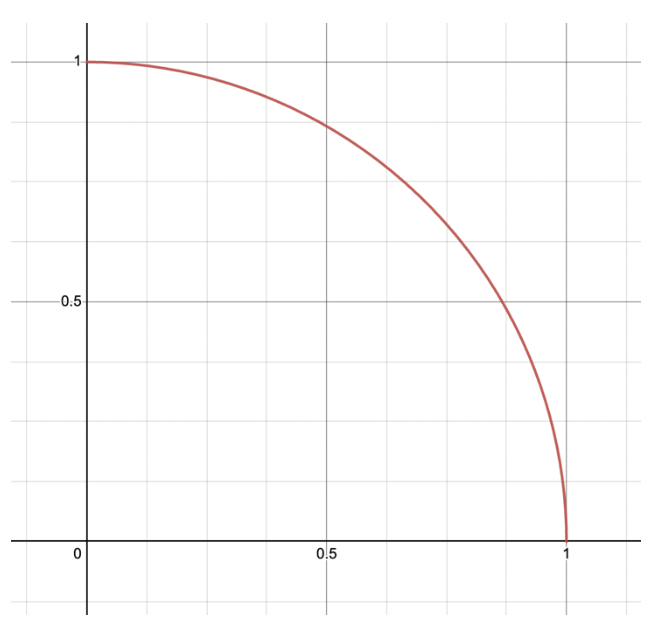
We begin by drawing the first quadrant of the unit circle:
Then we draw the five major angles that occur in the first quadrant. From bottom to top: 0°, 30°, 45°, 60°, and 90°.
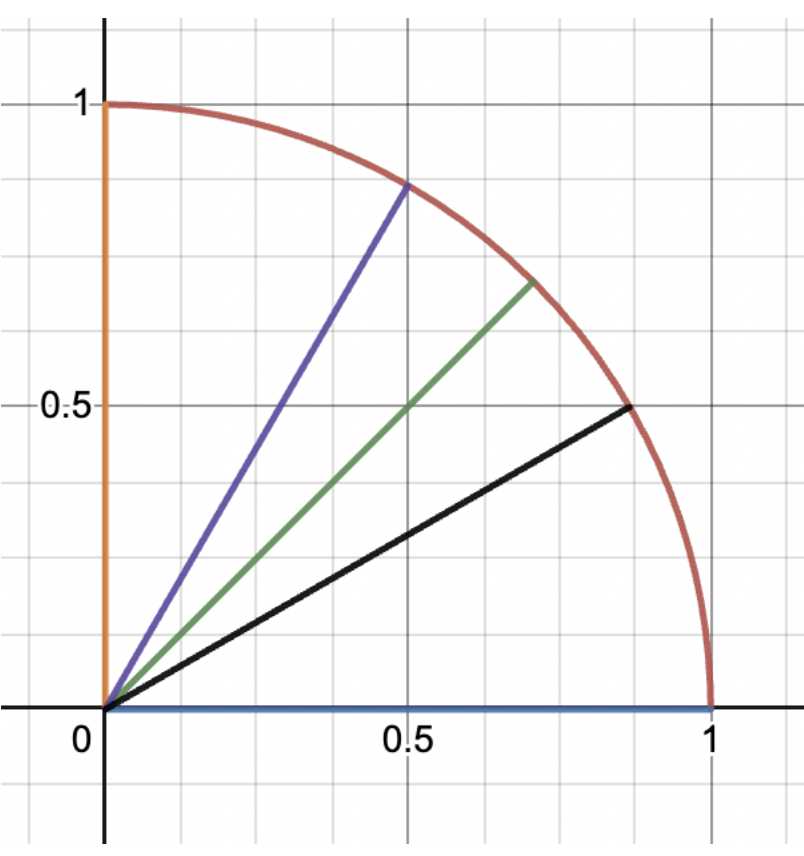
Since we’re interested in the coordinates of the intersection points between the lines and the circle to tell us the sine and cosine values, let’s set up coordinate pairs at those points. Put a coordinate pair at each intersection point, put a fraction bar in each coordinate, and put a 2 in all of the denominators. (That’s first number you have to remember). We’ll fill in the numerators on the next step.
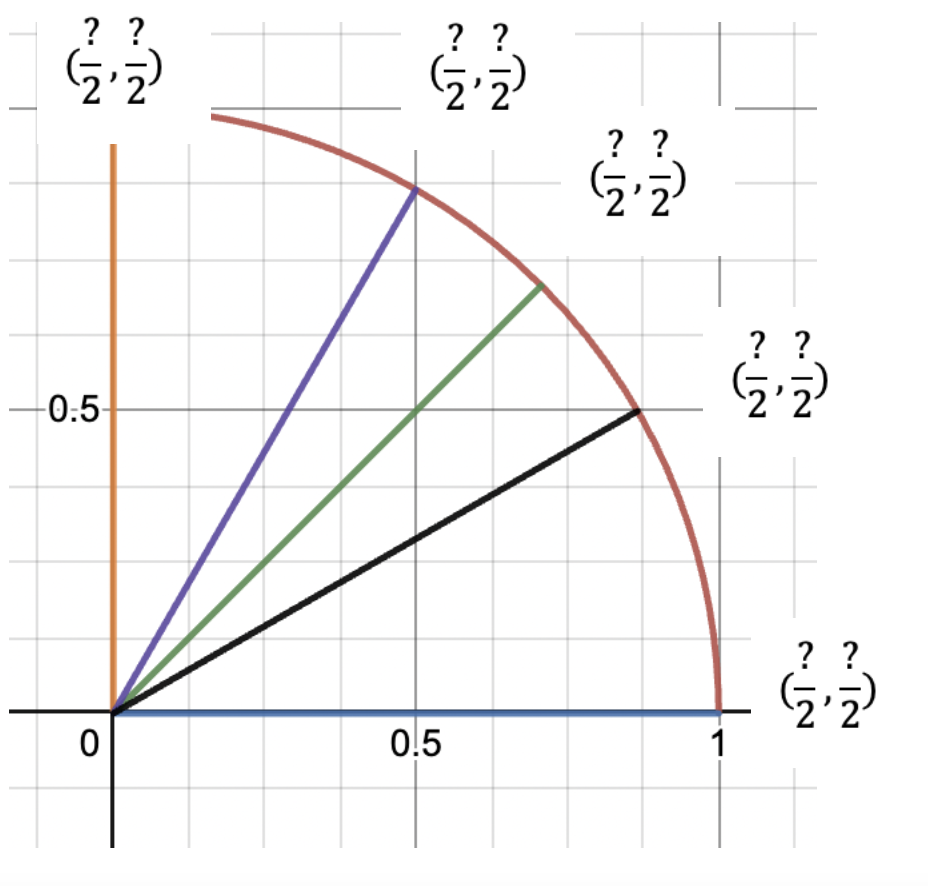
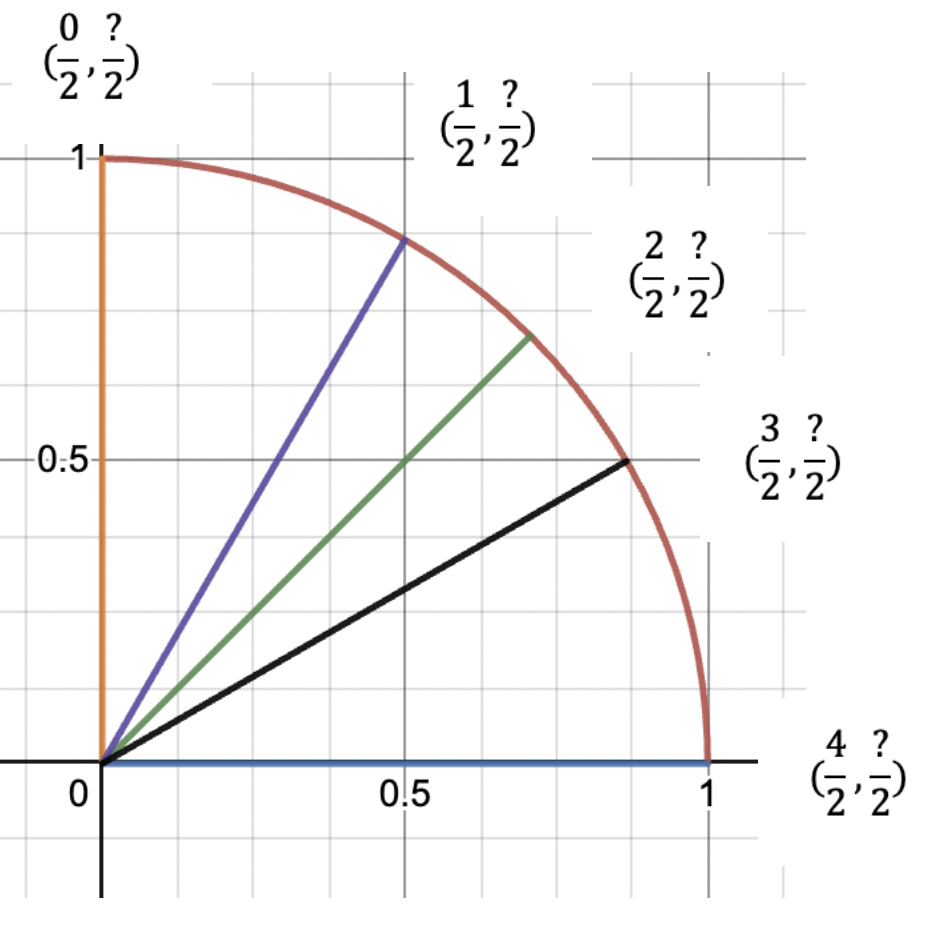
Now it’s time to fill in the numerators. Let’s start with the x coordinates. Notice that the x coordinate is largest at the bottom right. As we progress counterclockwise along the circle, the x values decrease because we’re approaching the y axis. For our memory trick to work out, we’ll start in the bottom left by putting 4 in the numerator (this is the other number you have to remember) and then step down sequentially as you go counterclockwise, like so:
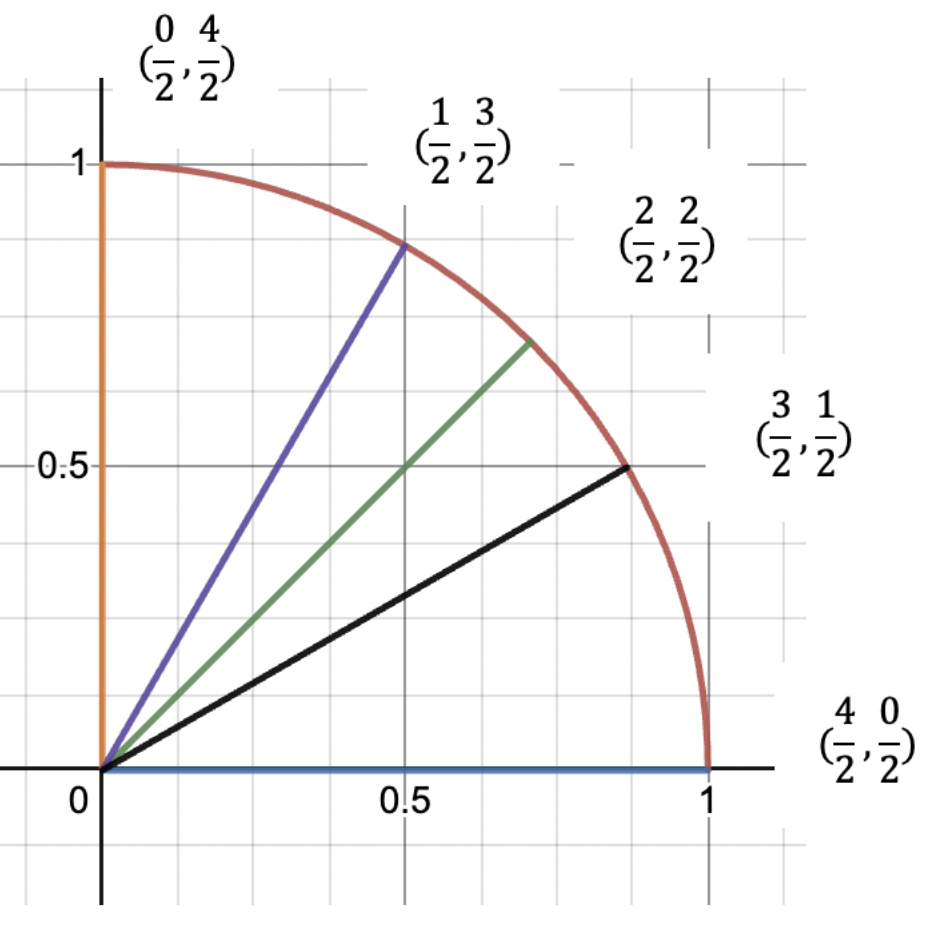
Now, we do the same with the y coordinates, but going in the opposite direction.
Then, we put a square root on all of the numerators (just the numerators—not the denominators) and then simplify them.
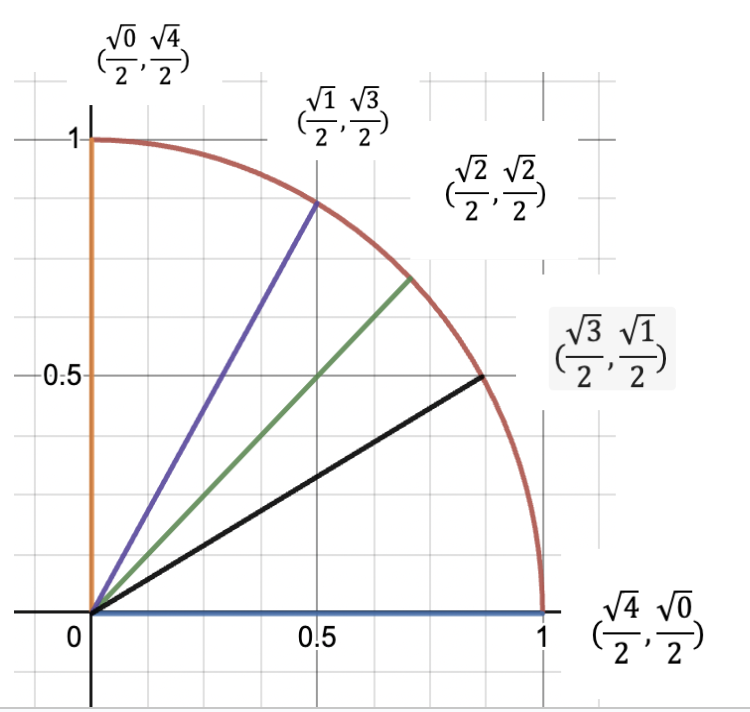
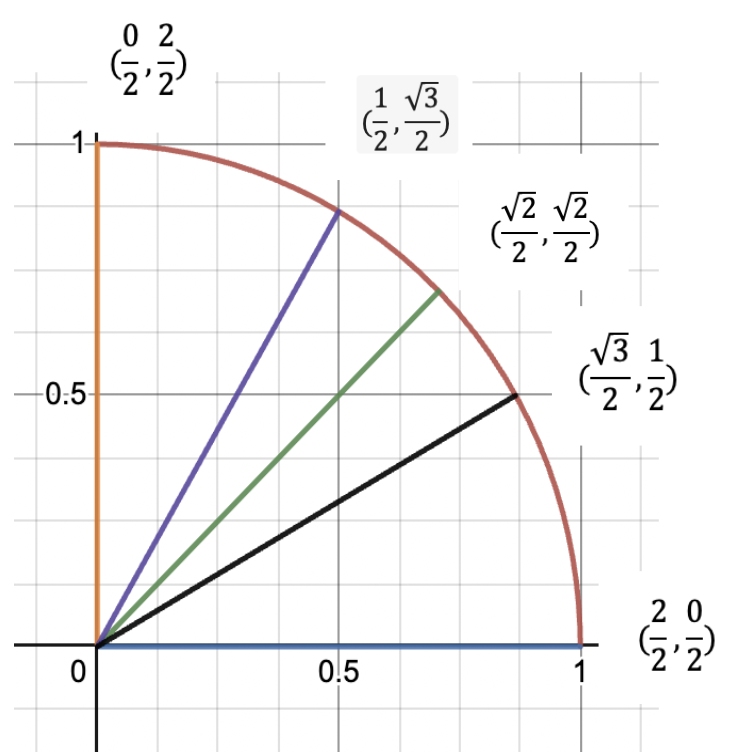
As a final step, we see that 2/2 and 0/2 simplify to 1 and 0, respectively, and now we’ve just recreated the first quadrant of the unit circle by only having to remember two numbers!
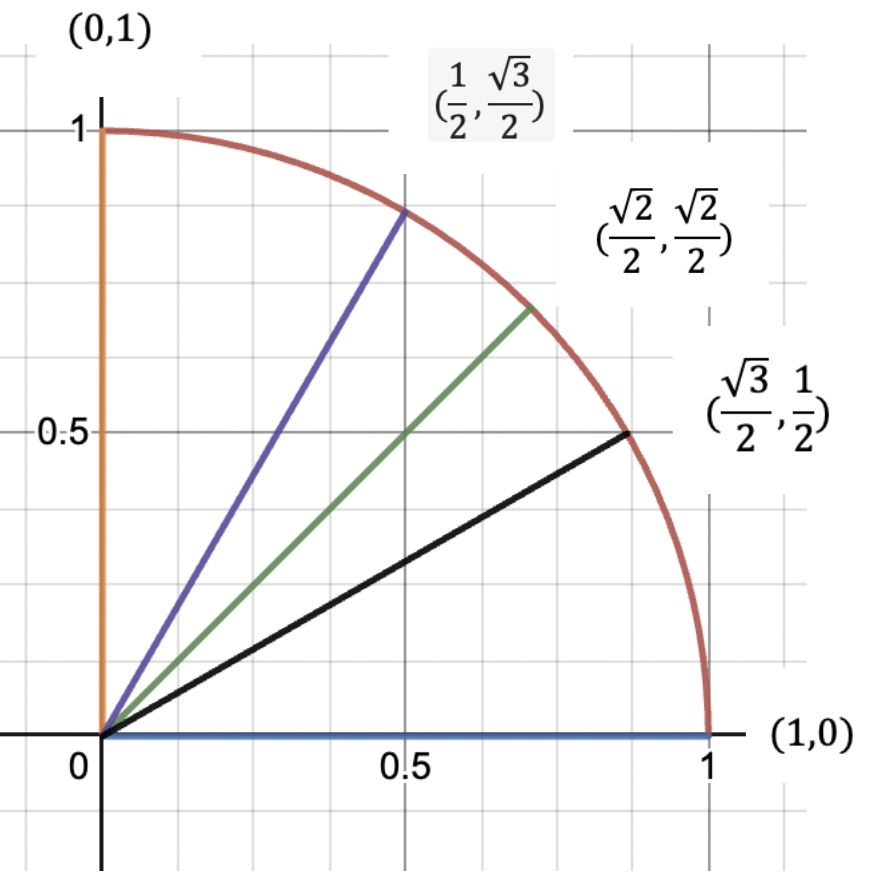
Remember that these coordinates tell us the sine and cosine values of the angles, with cosine corresponding to the x coordinate and sine to the y.
 I often tell my students to draw this image, using the above steps, on scratch paper at the beginning of a test so that they have it as a reference.
Angles Outside of Quadrant 1
Now the only thing left to do is to deal with the angles that fall outside of the first quadrant (90 < θ < 360) by reflecting these angles, intersection points, and their coordinates into the first quadrant. If an angle lies in quadrant 2, 3 or 4, reflect it over the y axis, the line y=-x, or the x axis, respectively, to see which angle from quadrant 1 it matches up with.
For example, let’s take the angle 210°:
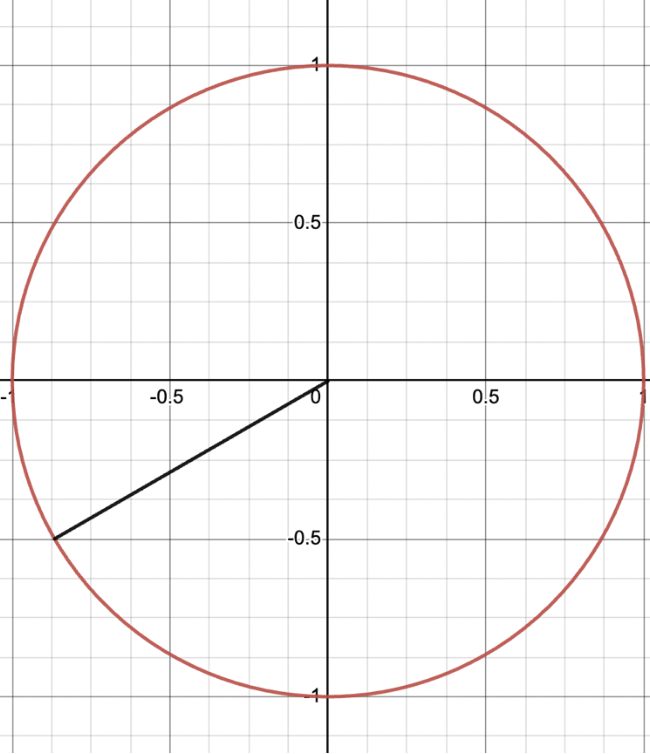
This is not one of the angles that we drew in the first quadrant, but I can see it is a reflection of the 30° line from the first quadrant (reflected over the line y=-x).
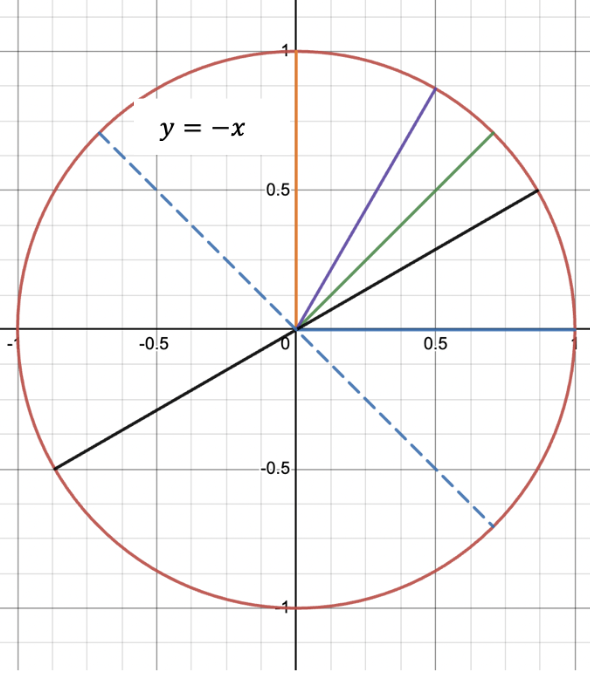
This means that the magnitudes of the intersection coordinates from the 30° line will be the same, I just have to adjust their signs. Since the 210° line lies in the third quadrant, where both the x and y coordinates are negative, I just flip the signs on both coordinates for the intersection point.
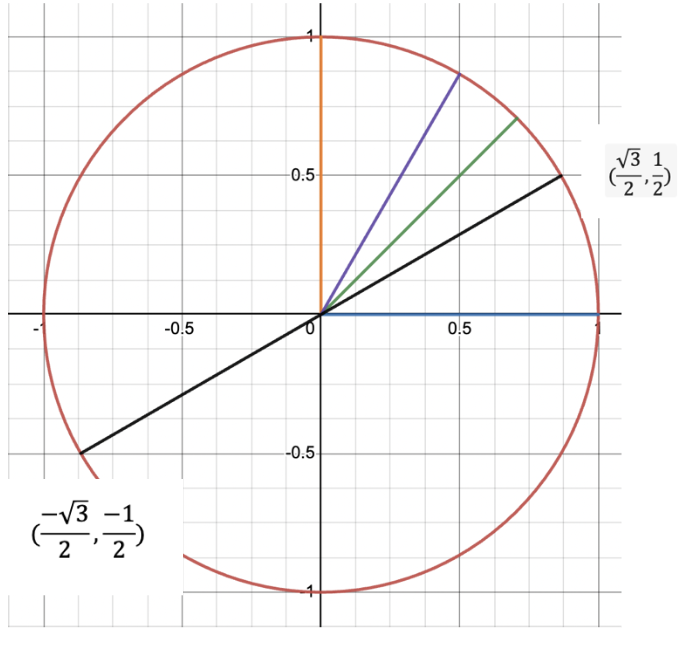

In fact, I can see that, corresponding with the coordinates in quadrant 1, both sine and cosine are positive; in quadrant 2, only sine is positive; in quadrant 3, both are negative; and in quadrant 4, only cosine is positive.

Another way to remember this is with the acronym ACTS, starting in quadrant 1 and progressing clockwise as seen below.
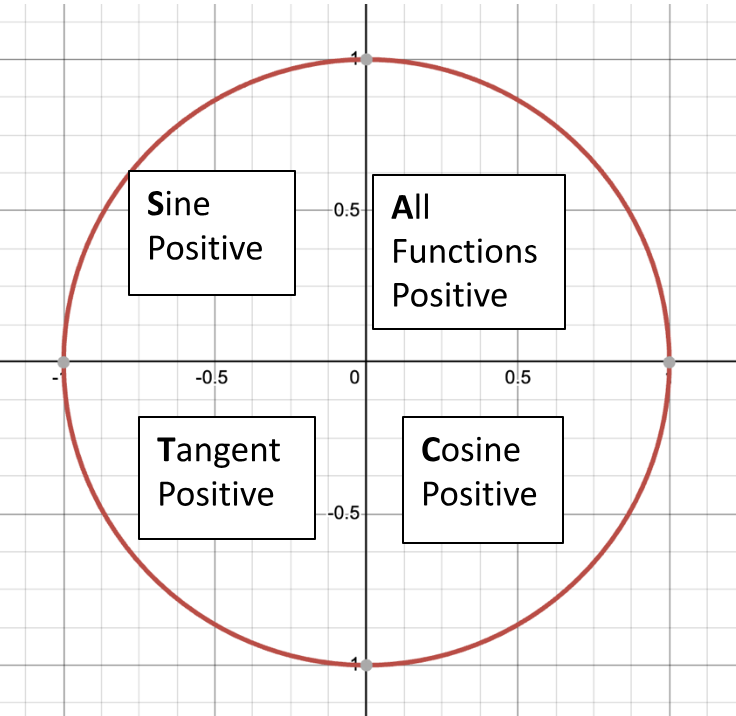
And there you have it! Now you have all you need to easily recreate the first quadrant of the unit circle to use as a guide on any test and map any other angles onto the first quadrant, all with only having to remember two numbers!

Comments